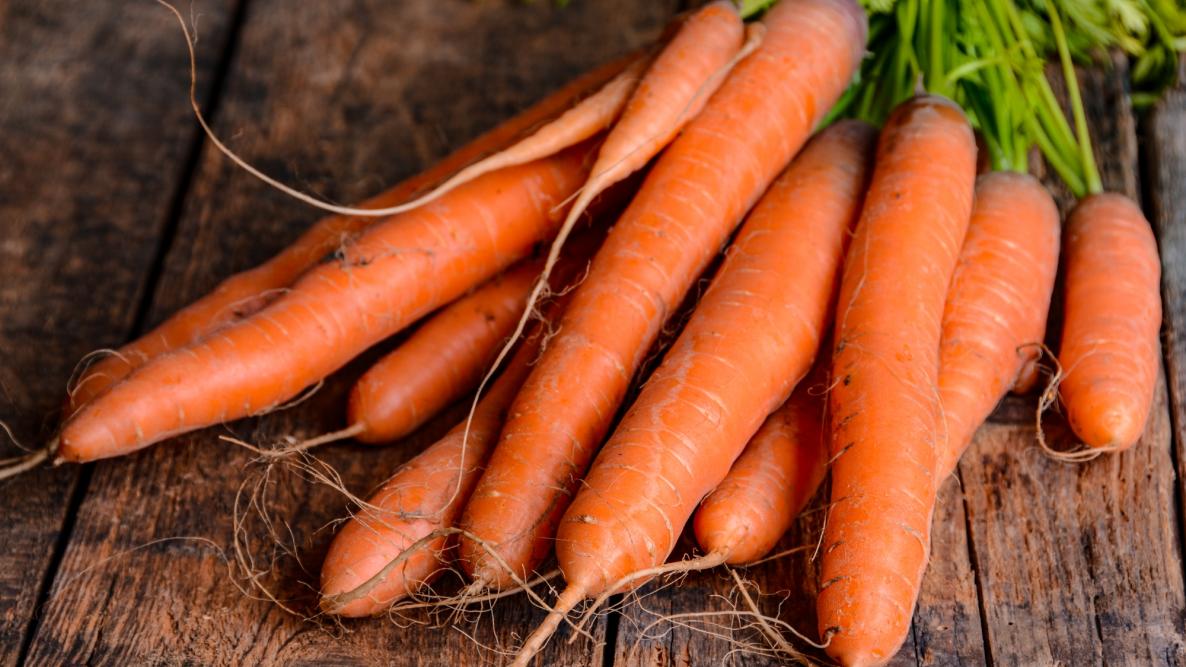
Carrots are a cool-season crop grown in spring. They are an excellent source of vitamin A and add color to a meal. They can be served cooked or raw.
This popular vegetable has a natural sweetness—especially the homegrown carrot because the sugar that makes a carrot sweet begins to be replaced by fiber as it ages in the grocery stores.
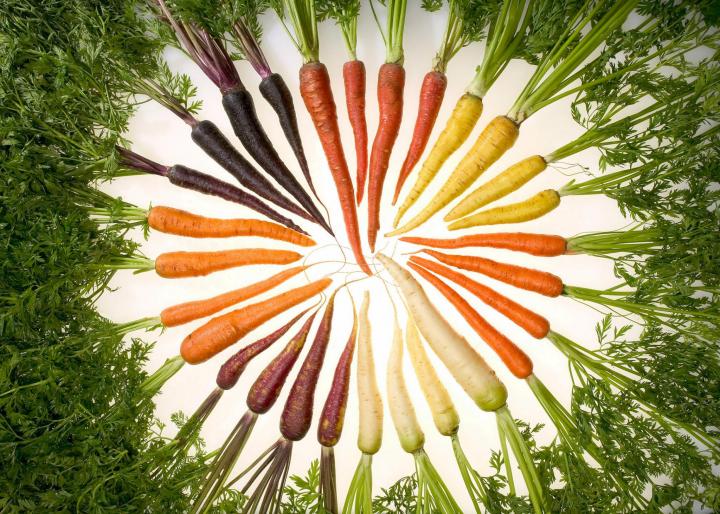
Plus, the home gardener has so many more varieties to grow from Belgium Whites to Purple Dragon to Parisian heirlooms that are round! (Not all carrots are the grocery store shape.) In fact, don’t expect to get perfectly straight ”grocery store” carrots. Your carrots will still taste better, whatever their shape!
Carrots have a reputation of being difficult to grow, especially in heavy, compacted soil. However, with a little effort, you can indeed grow carrots. Learn more in our planting guide below.
planting
Carrots prefer sunny locations (6 to 10 hours of sun). The soil itself should be free-draining; this is one of the few crops that actively benefits from sandier soils. You don’t want your soil to be too rich either or the carrots can’t reach down!
If your garden is made up of hard, clay soil, grow carrots in containers or raised beds at least 8 inches to 12 inches high. See our tips on container gardening below!
When to Plant Carrots
Carrot seeds can be sown about 2 to 3 weeks before the last spring frost date. Ideally, you want the soil to have both dried out and warmed up a little after the winter.
Seeds germinate after the soil temperature is at least 40° and germinate best at 55-65°, not exceeding 75°F. High summer temperatures reduce growth, decrease quality, and cause bitter or off-flavors to develop.
For a fall harvest, sow seeds in mid- to late summer—starting about 10 weeks before yourfirst fall frost.
How to Plant Carrots
Prepare the site by tilling to a depth of 10 inches. Make sure there are no rocks, stones, or even soil clumps. Amend soil with compost and 6 inches of sandy topsoil if your soil isn’t loose and airy. We recommend double-digging to be certain.
We recommend sowing seeds directly in the garden (or wherever you plan to grow them) rather than transplanting. Carrots do not like to have their roots disturbed.
Sow 1/4 inch deep, 2 to 3 inches apart in rows 1 foot apart.
Tip: Try to distribute seed in an even fashion so that seeds don’t grow together. The seeds are pretty tiny and it’s very easy to sow them too thickly. If you’ve not got the steadiest hand, then a simple tip is to mix the seeds with fine sand, to spread the seeds out. You can then sow pinches of your sand-seed mix instead. Then just cover the seeds over.
Keep the soil moist with frequent shallow waterings. For small carrot seeds to germinate, the soil mustn’t form a hard crust on top; cover with a layer of fine sand, vermiculite, or compost to prevent a crust from forming. (If you put your finger in the ground, it should be moist, but not wet, to the middle knuckle.)
Carrots are sometimes slow to germinate. They require 14-21 days to emerge, so don’t panic if your carrots don’t appear right away!
Planting radishes with carrots helps minimize the crusting problem and helps you keep track of where the carrot seeds were planted. Sow quick-germinating radish seeds between carrot rows. The radishes will grow quickly and by the time the carrots really start to grow, the radishes can be harvested.
For a continued harvest, plant carrots every 4 weeks through mid-summer.
Carrots in Containers
Growing carrots in pots is a great way to customise the perfect growing medium and avoid pests like carrot fly. Pos need to be at least 10 12 inches deep and as wide as possible.
A great low-fertility mix is one part sand, one part potting mix.
Sow seeds very thinly over the top of a filled pot and then cover them over with just a touch more of the mix.
Water well, label, and set into a sunny position.
Keep everything moist as unlike those that are in the ground, these carrots will be entirely dependent on you for all their needs.
Thin the seedlings to a couple of inches apart once they’re up. Then harvest once they’ve reached finger size.
growing
Gently mulch carrots to retain moisture, speed germination, and block the sun from hitting the roots directly.
When seedlings are an inch tall with 3 to 4 true leaves, thin so that they stand 3 to 4 inches apart. Snip tops with scissors instead of pulling them out to prevent damage to the fragile roots of the remaining plants.
Ensure carrots receive 1 inch of water per week either through rain or watering; do not overwater carrots.
Weed diligently as carrots do not like struggling against weeks, but be careful not to disturb the young carrots’ roots while doing so.
Fertilize 5 to 6 weeks after sowing. (We recommend a low-nitrogen fertilizer as excess nitrogen in the soil promotes top, or foliage, growth—not roots.)
recommended varieties
Carrots come in a rainbow of colors, sizes, and shapes.
‘Bolero’: slightly tapered; 7 to 8 inches; resists most leaf pests and blights.
‘Danvers’: classic heirloom; 6 to 8 inches long, that tapers at the end and has a rich, dark orange color; suited to heavy soil.
‘Little Finger’: heirloom; a small Nantes type of carrot only 4 inches long and one inch thick; good for containers.
‘Thumberline’: heirloom; round carrot, good for clumpy or clay soil and containers.
For unusual color, try heirloom ‘Red Cored Chantenay’ and bright ‘Solar Yellow’.
harvesting
How and When to Harvest Carrots
How do you know when your carrots are ready? Have a little root around and check the approximate width of the roots by looking at the neck of the root. The first roots should be ready as soon as two months from sowing.
Generally, the smaller the carrot, the better the taste. Carrots should be about as wide as your thumb or at least ½ of an inch in diameter.
Younger and shallower roots should come away easily enough, simply by gripping them firmly at the base of the foliage. It often helps to push down on the root first, and then give it a twist as you gently pull upwards.
Larger, longer roots—particularly those of maincrop carrots that are sown for winter eating—may need to be eased up with the help of a fork.
Harvest in stages—or as roots reach full size. In this way you’ll stagger your harvest over many weeks.
If you’re growing carrots in the spring and early summer, harvest before daily temperatures get too hot, as the heat can cause carrot roots to grow fibrous.
If you are harvesting in the fall, carrots taste much better after one or more frosts. (A frost encourages the plant to start storing energy—sugars—in its root for later use.) Following the first hard frost in the fall, cover carrot tops with an 18-inch layer of shredded leaves to preserve them for harvesting later.
Note: Carrots are biennial. If you fail to harvest and leave the carrots in the ground, the tops will flower and produce seeds in the next year.
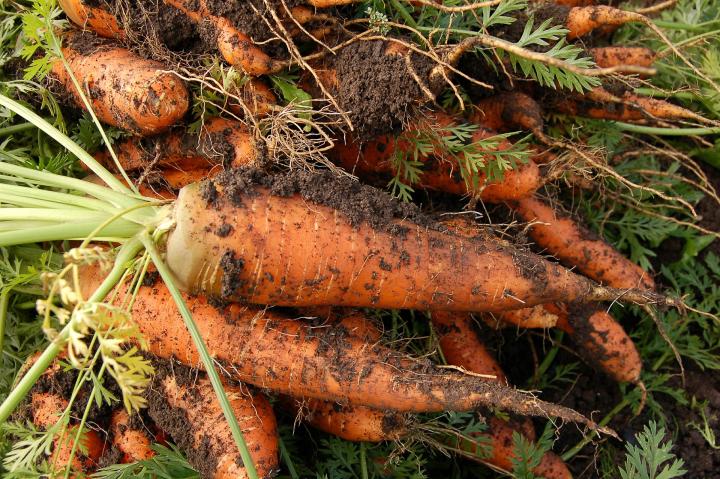
Scrub off the dirt and remove the tops before storing carrots!
How Do You Store Fresh Carrots?
To store freshly-harvested carrots, twist or cut off all but 1/2 inch of the tops, scrub off any dirt under cold running water, and air-dry. Seal in airtight plastic bags, and refrigerate. If you simply put fresh carrots in the refrigerator, they’ll go limp in a few hours.
You may leave mature carrots in the soil for temporary storage if the ground will not freeze and pests aren’t a problem.
Carrots can also be stored in tubs of moist sand or dry sawdust in a cool, dry area.
pests/diseases
Carrot Pests and Diseases
Pest/Disease
Type
Symptoms
Control/Prevention
Aster Yellow Disease
Bacteria
Shortened and discolored carrot tops and thin, hairy roots; bitter taste
Spread by pests as they feed from plant to plant. Keep weeds down and invest in a control plan for pests such as leafhoppers. This disease has the ability to overwinter.
Black (Itersonilia) canker
Fungus
Shallow, reddish brown/purple/black cankers form on crown and/or shoulder of carrots; small, orange-brown spots on leaves may have green halos; flowers rot
Choose resistant varieties; cover shoulders of carrots with soil; rotate crops
Carrot rust flies
Insect
Wilted/stunted plants; tunnels with rust-color excrement in roots of carrot-family crops; root rot
Monitor adults with yellow sticky traps; use row covers; add native plants to invite beneficial insects; destroy crop residue; rotate crops
Flea beetles
Insect
Numerous tiny holes in leaves
Use row covers; mulch heavily; add native plants to invite beneficial insects
Leafhoppers
Insect
White shed skins on leaf undersides (from nymph molting); stippling (many tiny spots) on leaves; “hopperburn” (leaves yellow/brown, curled, or stunted); reduced yield
Knock nymphs off leaf undersides with strong spray of water; use row covers; monitor adults with yellow sticky traps; weed; destroy crop residue
Root-knot nematodes
Insect
Typically, roots “knotty” or galled; plants stunted/yellow/wilted; roots forked/pimpled
Destroy crop residue, including roots; choose resistant varieties; solarize soil; add aged manure/compost; disinfect tools; till in autumn; rotate crops
Trap by digging 2- to 4-inch-deep holes every 3 to 10 feet, fill with mix of germinating beans/corn/peas or potato sections as bait, cover with soil or a board, in 1 week uncover and kill collected wireworms; sow seeds in warm soil for quick germination; provide good drainage; remove plant debris; rotate crops

 Scrub off the dirt and remove the tops before storing carrots!